A step-by-step for using The Beauty Blender sponge in the right manner
When we first saw The Beauty Blender we were confused to say the least. We just couldn’t understand why such an odd, egg-shaped, sponge was creating a buzz in the beauty world. But now that we have actually conquered the task of using it correctly, we can’t live without this brilliant makeup tool.
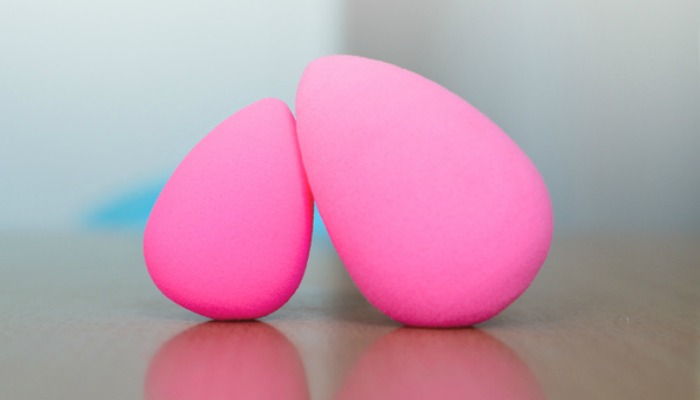
The Beauty Blender was the worlds first elliptically shaped, non-disposable, environmentally friendly, hi-definition cosmetics sponge applicator created by celebrity makeup artist Rea Ann Silva. It was created to leave you with a professional finish and a flawless complexion.
Trust us, when we say that if you use it correctly, then there is no other makeup tool better than The Beauty Blender.
But how exactly do you use it? Well, here are a few tips…
Bounce the Beauty Blender against your face when applying make up. Bouncing, called stippling in the make up world, blends make up without creating changes in the texture or tone of your skin.
Use the pointed side for hard-to-reach spots like around the nose and mouth, and under the eyes.
Use the round base for foundation and blush on the larger areas of your face such as your forehead, cheeks and chin.
Make sure your Beauty Blender is damp when applying wet or dry make up. When wet it is normal for it to expand to nearly twice its original size. Wash after use and place in the Beauty Blender insert pedestal to dry.
If you have problem skin the Beauty Blender works to cover blemishes. Use the pointed end and the stipple and twist technique to work make up into depressed areas of the face. The stippling and twisting action feathers out the make up’s edges, leaving a perfect finish.

You can also check out this awesome training video below for more info about how to use the Beauty Blender.

Join our WhatsApp group and receive curated news and offers in your WhatsApp Feed